How I Upgraded My Teaching Background
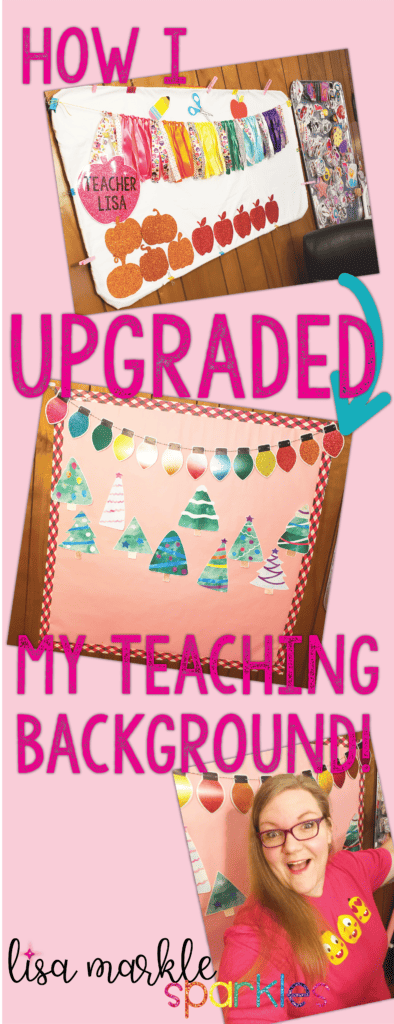
It’s the most wonderful time of the year! It’s beginning to look a lot like Christmas! I’ve been rocking around the Christmas tree! Let’s see how many song titles I can use before I lose your attention! Okay, I’m done, I swear! It is, however, that time of year, and I have been seeing some amazing decorations from my fellow VIPKid teachers over on Instagram. Creativity is contagious! And since I’ve been wanting to upgrade my teaching background, I decided to do it all at once, before I lost the motivation!
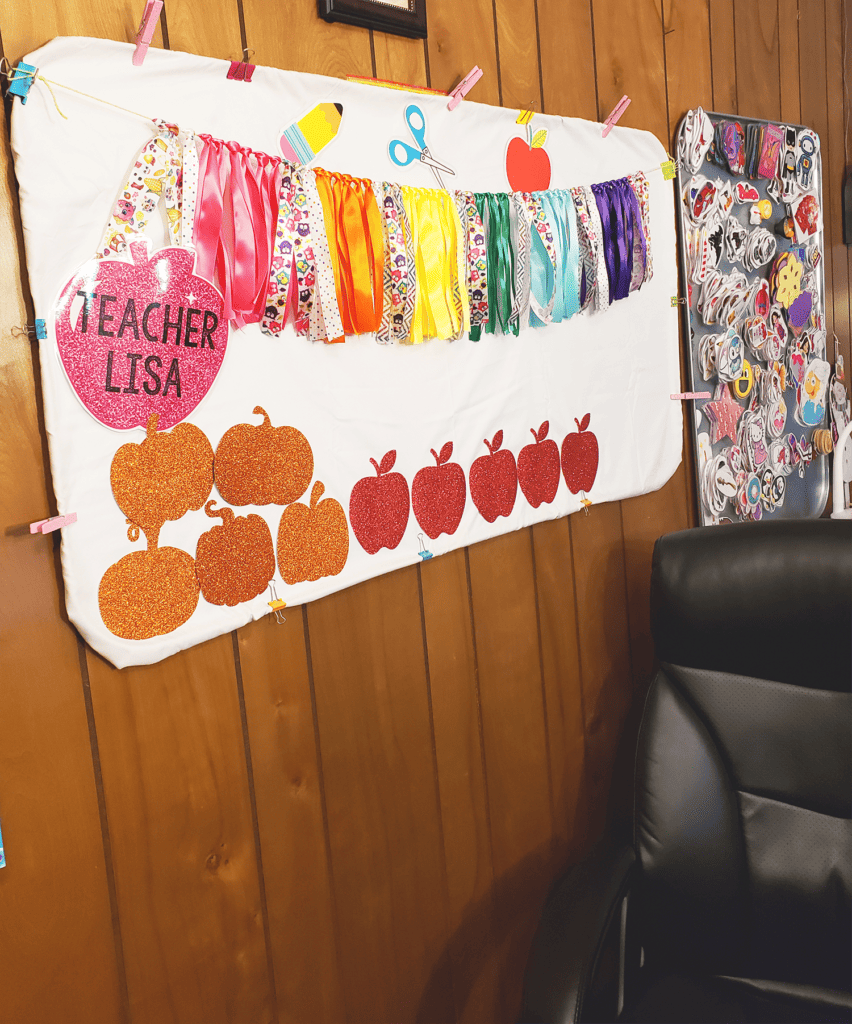
I’ve been using a metal oil drip pan with a white bed sheet clipped around it for the past year or so. I loved that it was simple to hang and easy to change out decorations (magnets are an online teacher’s best friend!), but when I got a new laptop, the webcam showed much more of the space around the oil drip pan, which also showed my wood paneled wall, my binder clips and clothes pins clipping the sheet to the edges of the board, and part of my other oil drip pan that homes all my rewards to use in class. My behind-the-scenes had basically become the scene!
To start, here is a list of what I used to revamp my “classroom”:
- Galvanized Steel sheet metal, two 2 feet by 3 feet sheets
- Command strips that hold up to 16 pounds each
- Command hooks
- Fadeless bulletin board paper
- Patterned duct tape
- Some Christmas clipart printed out on cardstock from my Teachers Pay Teachers and Etsy shops!
- A sparkly Christmas light bulb garland from Target (you knew I wouldn’t get through this without something from Target)
You can purchase the galvanized steel metal sheets at Lowe’s, Home Depot, or Amazon, but I’ve found them to be the cheapest here at Lowe’s. I will still include them in my affiliate Amazon links below for you, along with everything else you will need!
Here we go!
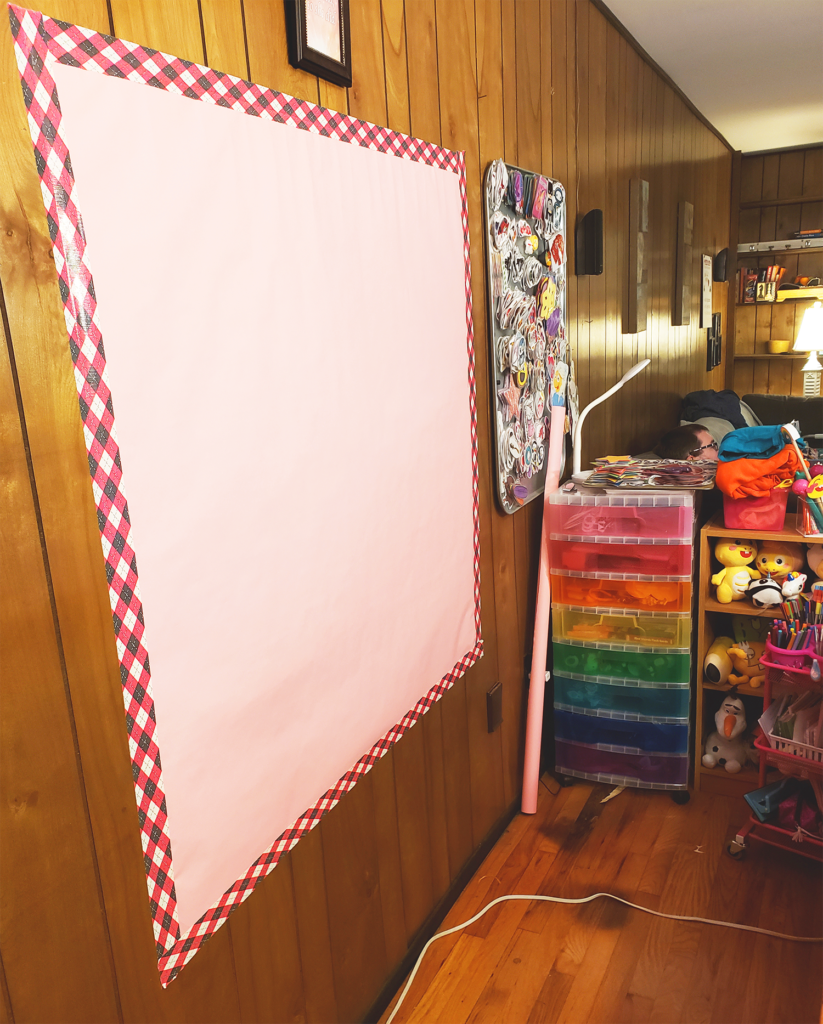
First, I laid the sheets of metal on the floor and applied the Command strips to the backs of them. This makes it so easy to just stick them to the wall exactly where you want, without having to try to line anything up! I’ve used Command strips for a while now and I love them because they don’t damage or leave residue on your wall at all!
Public service announcement if you use Command Strips!
I want to note here that it is really important to place the Command strips at the top and halfway down, as the instructions state. They only support the weight that is below them, so if you place them at the top and bottom, the top will be doing too much work and the bottom won’t be doing any work, and your sheets could fall off the wall. So, make sure they are at the top and halfway down, like in the picture!
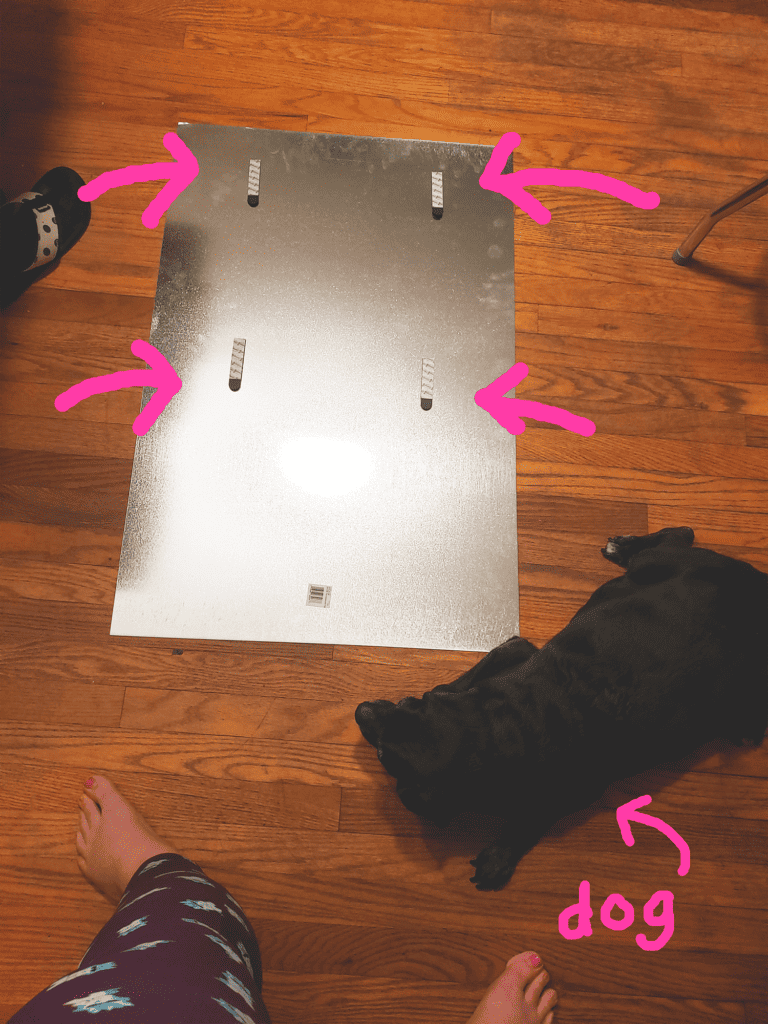
Then, figure out where you want them on the wall, and maybe mark it with a pencil or some tape. The lines in the paneling on my wall made it super easy to make sure mine were straight! Stick them to the wall and press firmly on all the Command strips for a few minutes.
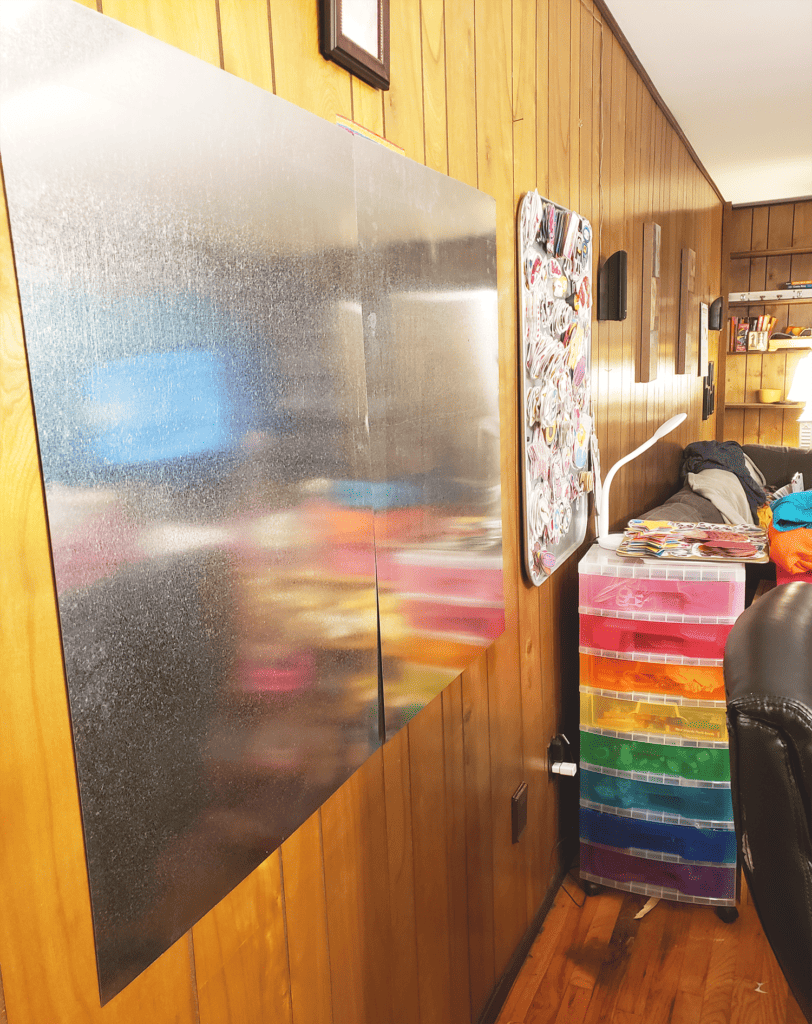
The hard part is over!
Next, I covered the metal sheets with the fadeless bulletin board paper. This was tricky and there’s probably easier ways to do this, but in the moment I made it work! I used magnets to keep it in place as I unrolled it across the sheets, and then I cut it where the sheets ended. This took some juggling so do this step however it works for you! Having a helping hand would probably smooth the process too!
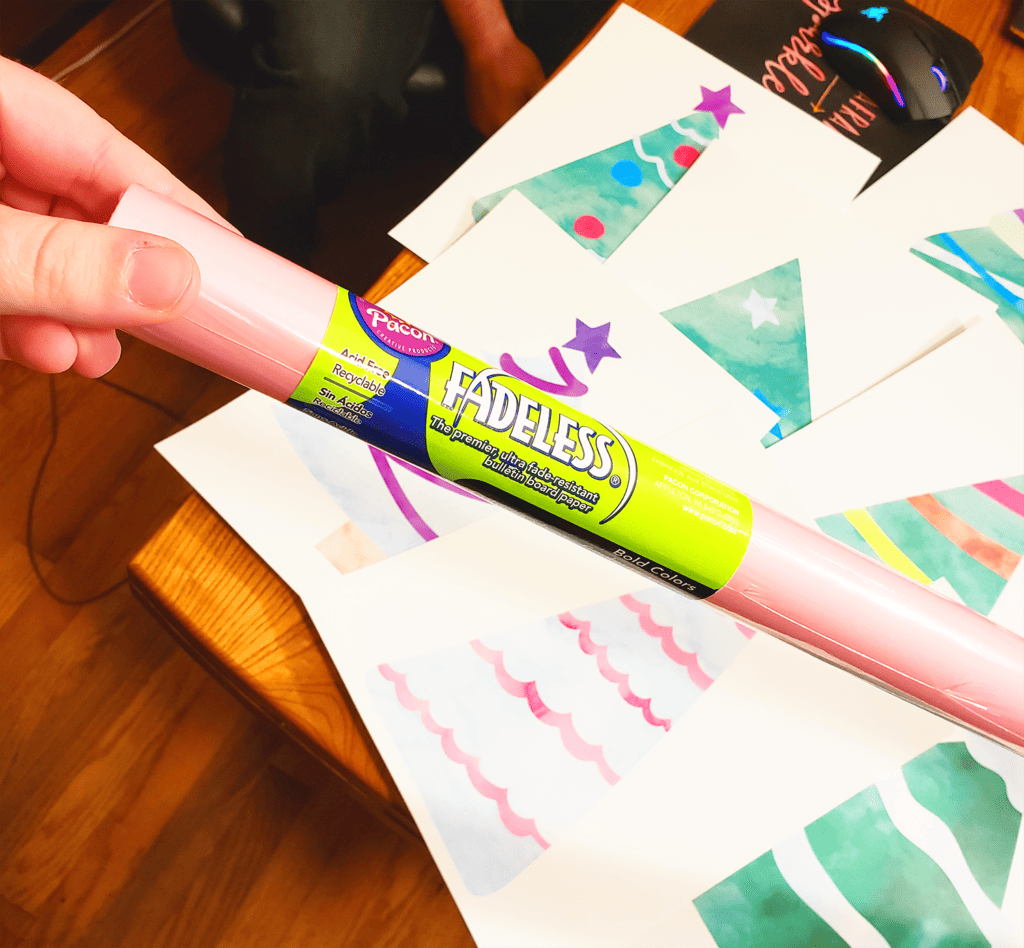
The paper actually ended up being a little longer than the metal sheets by maybe six inches, but I left that part, because my goal here was to create a big, long background that I could teach in front of standing or sitting. This size worked perfectly for that, and now I can switch from sitting to standing anytime!
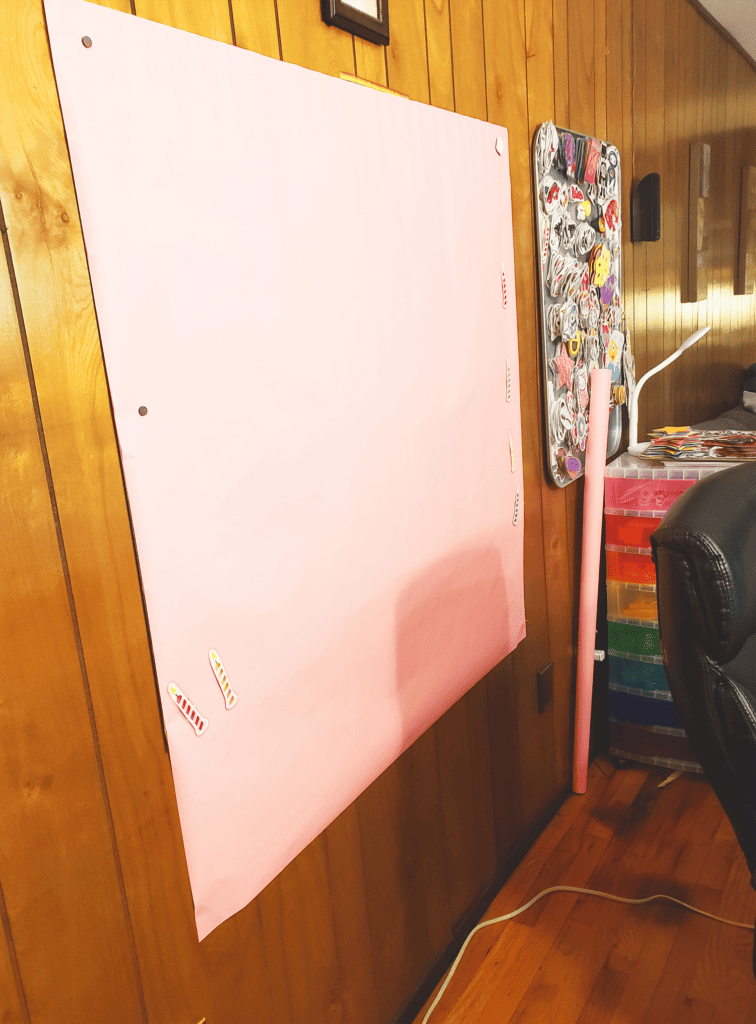
Originally, I was going to just leave the paper held up by magnets, for ease of switching it out, but I quickly realized how easily the paper moved around. Visions of accidentally bumping it with my chair after all this and ruining the whole thing, with seconds to spare before class totally ran through my head!
Do as I say, not as I do…
I happened to have some patterned duct tape sitting around that matched the paper pretty well, and since I know wood paneling can take a beating, I used the patterned duct tape like a decorative border to hold everything in place. I definitely wouldn’t recommend this for a regular wall! Maybe some painter’s tape covered up by a pretty bulletin board border, or some ribbon would work just as well!
And now we decorate!
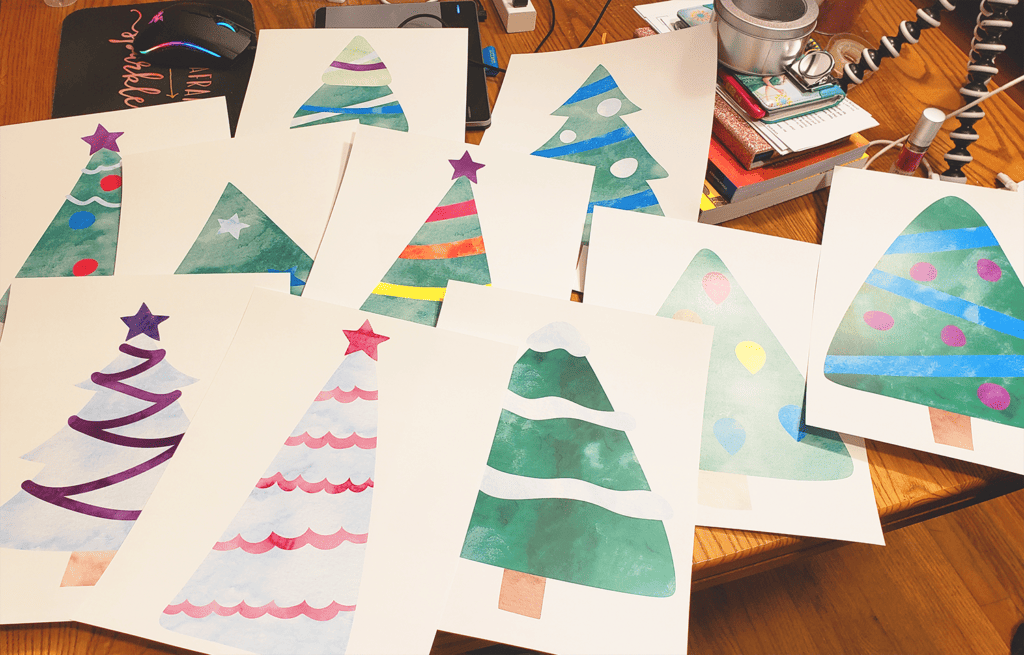
I printed out some of my watercolor Christmas tree clipart on cardstock to decorate my background with! If you do this, I recommend cardstock and not laminating them to avoid glare in the camera. Cardstock will hold up very well!
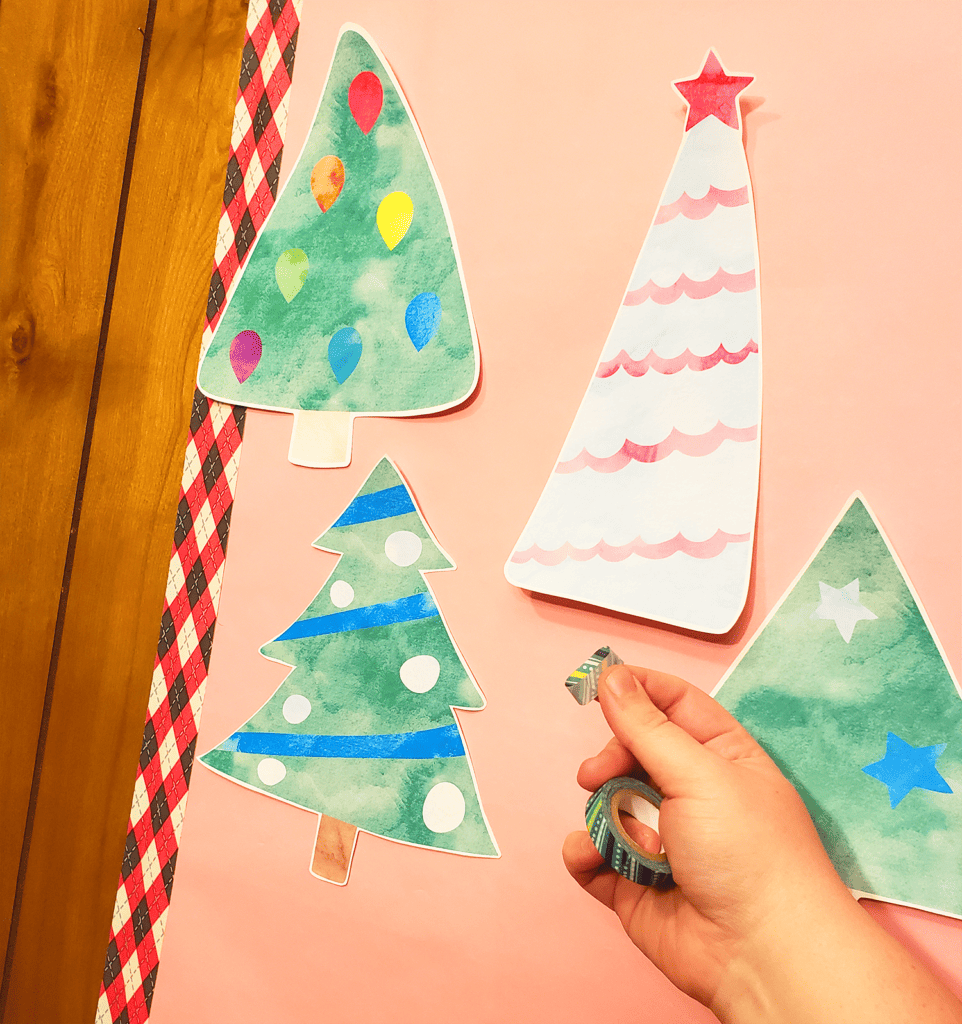
I put them up with magnets but noticed the tops and bottoms curled a little, so I used some washi tape and stuck it behind where the trees curled. Painter’s tape would work too, if you’re not a craft hoarder like me! Washi tape and painter’s tape won’t damage the paper, so I can easily change my decorations at the end of December without taking the whole thing down!
Almost there!
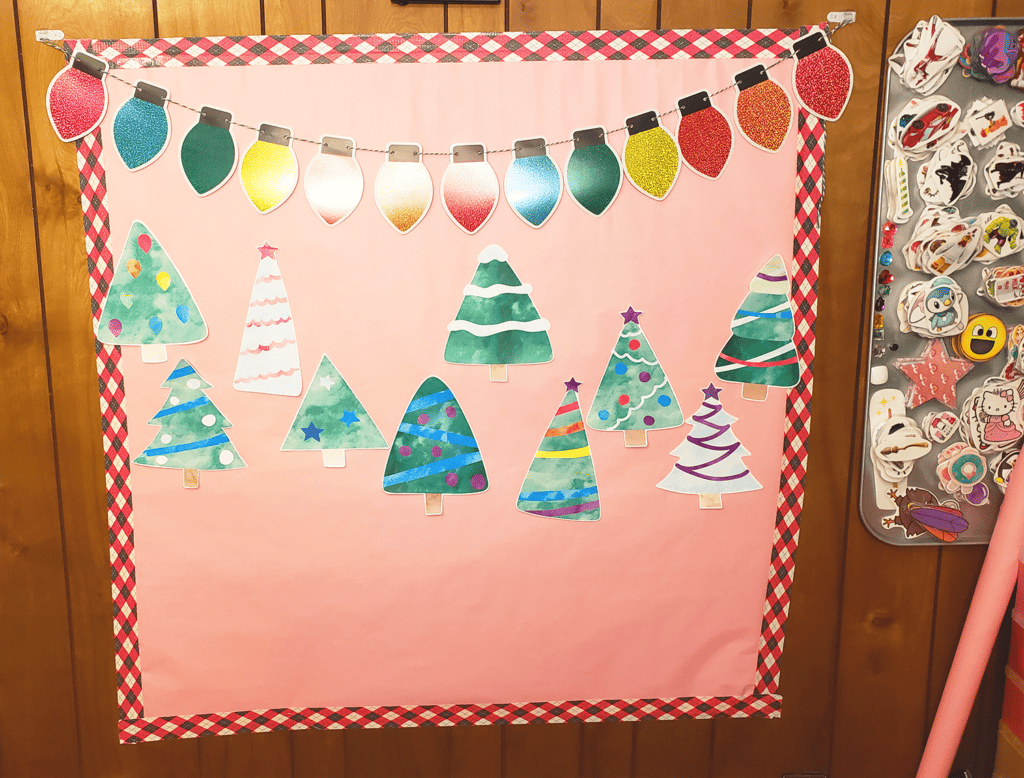
Finally, I put some Command hooks on the wall at the top corners of the borders and hung a sparkly Christmas light garland that I found at Target for the finishing touch. Ta da! My background is complete!
So… what do I do with the old background?
So now you may be asking, what am I going to do with the huge oil drip pan that used to be on my wall? I’m going to use it! I’ve been teaching online for over two years now and I’m constantly adding to my rewards and props piles! As you can probably see in a few of the pictures, I have a smaller oil drip pan next to my classroom background where I keep all my rewards, so I can grab them quickly during class. I have filled that board completely! I’m going to take it down and replace it with the bigger oil drip pan so I have room for more! If I can, I will find a space for the smaller one and utilize that one as well. You can never have too many props and rewards!
Thanks for stopping by!
I hope you enjoyed joining me in changing up my classroom! What were some upgrades you’ve done that totally changed your life?! Leave me a comment! Tag me on Instagram! I would love to see! And if you’re looking to spruce up your space, don’t forget to check out my clipart on Etsy and Teachers Pay Teachers! Thanks so much for reading!
you may also like...
Hello! I’m Lisa!
I’m a digital illustrator! I make fun printable coloring pages and coloring books for busy moms, teachers, and their creative kids!

